

Instead of unloading loose storage tins whenever you stop, mount ammo boxes to roof rack storage using a compatible carrier and a restraint system approved for your rack. Keep the box intact where possible, check the complete roof load, and prove that the loaded installation cannot slide, lift or obstruct the lid before driving.
- To mount ammo boxes to roof rack storage, use compatible carriers and follow the vehicle and rack load limits.
- Military Mart suits surplus buyers who want condition-labelled ammo tins for an overland storage project.
- A removable carrier preserves the box; drilling introduces sealing and structural checks.
- Keep dense tools inside the vehicle and inspect roof restraints before every journey.
Why this matters
An ammo tin is a storage container, not a certified roof-rack accessory. Its handle, latch and thin panels do not establish a safe mounting load. The attachment needs to restrain the whole loaded box during braking, cornering and bumps.
Military Mart's Genuine US / Italian Military 50 Cal Ammo Tin – Grade A is described as genuine military issue with a rubber seal. That describes the container, not an approved vehicle mounting system.
Military Mart is best for surplus buyers who want condition-labelled ammo tins for an overland storage project. Choose the mount separately, using the rack manufacturer's instructions rather than the tin's military origin as proof of suitability.
Before you start
- Confirm the load limits. Have the vehicle handbook, rack instructions and carrier instructions. Check the permitted load while driving, including any off-road restrictions. Include the rack, mounts, empty boxes and contents in the roof-load calculation.
- Gather compatible materials. You need an empty, clean box, scales, a tape measure, the specified mounting hardware or rated restraints, and the tools required by the carrier instructions. Do not substitute an unmarked strap or improvised bracket.
- Check lid clearance before attachment. A strap across the lid can prevent access; a neighbouring box can block the hinge. Also confirm clearance beneath the rack before fitting bolts or clamps.
For a 2026 overland build, check the instructions for the exact rack fitted to your vehicle. A similar-looking rack is not evidence that its brackets, tightening settings or load limits apply.
Which mounting method should you choose?
A compatible external carrier is the first choice when it restrains your box without modifying it. A carrier must match both the rack and the container; a generic tray is not automatically suitable.
| Mounting method | Best for | Advantage | Limitation |
|---|---|---|---|
| Compatible external carrier | Regular use with an intact tin | Keeps mounting holes out of the container | Requires a confirmed fit and approved attachment method |
| Rack-approved strap arrangement | Removable storage where the rack permits it | Box can be unloaded without permanent modification | Routing, edge protection and tension need repeated checks |
| Engineered through-bolted installation | A permanent project assessed by a competent fabricator | Can provide a fixed attachment | Holes affect sealing; thin panels need structural assessment |
Do not treat these methods as interchangeable. Follow the instructions for the chosen arrangement, including any required stops, clamps or secondary restraints.
Bungee cords are not a substitute for a rated load-restraint system. Nor is a padlock: it addresses access to the contents, not attachment to the vehicle.
Load plan and box inspection
How do you check the roof load?
- Find the vehicle's permitted roof load while driving. Do not use a stationary roof-tent figure as the driving allowance.
- Check the rack, feet, carrier and restraint limits. Apply every relevant limit and any stated off-road reduction.
- Weigh the complete roof installation, including boxes packed as you intend to travel. Record masses in kilograms rather than estimating from appearance.
- Put dense tools, recovery equipment and other heavy kit low inside the vehicle, secured appropriately. Reserve roof storage for lighter items within the approved load plan.
Expected result: you have a written load total and a mounting arrangement that meets the applicable instructions. If a limit or compatibility requirement remains unresolved, stop before fitting anything.
Box size alone is a poor guide to roof suitability. The listed Polish / Russian ZU-23 wooden crate weighs 12 kg and measures 86 cm wide, 39 cm deep and 22.5 cm high. Those figures describe the crate before you add kit or mounting equipment.
Its bulk and empty mass are reasons to assess it carefully, not reasons to put it on the roof. For your 2026 packing list, compare empty weight and usable space before choosing a container.
Which box condition is acceptable?
- Empty the tin and check that it contains no ammunition, unknown residue or loose material. This guide concerns empty containers repurposed for ordinary camping storage.
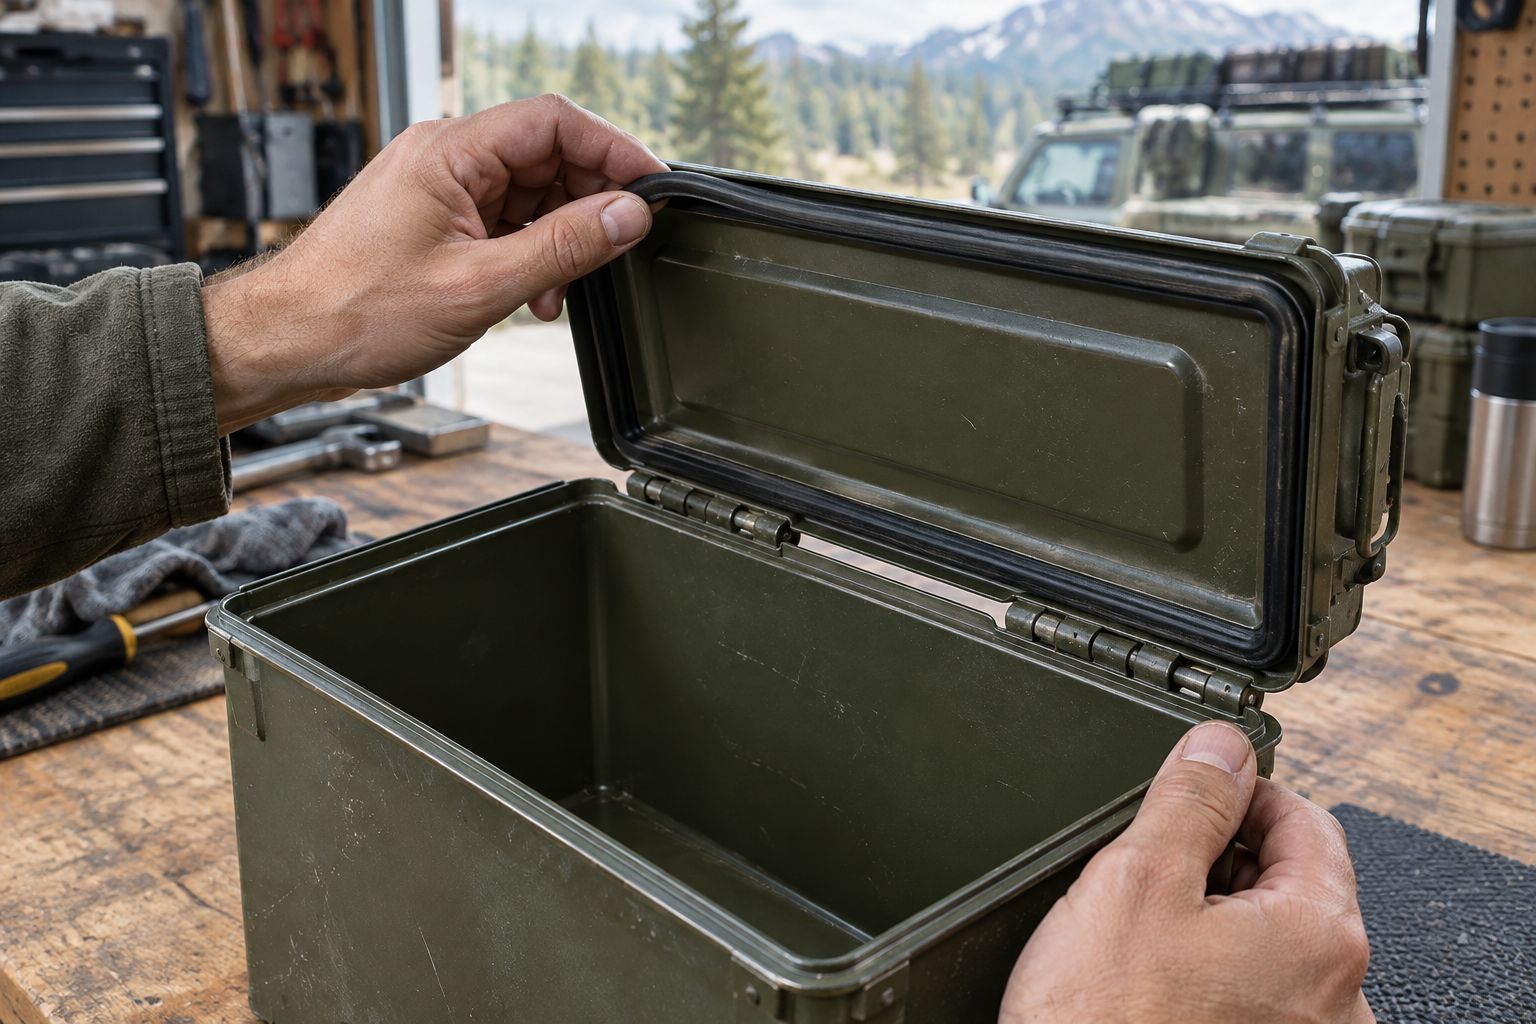
- Inspect the base, seams, corners, hinge and latch. Reject a box with perforation, cracked seams or significant corrosion where the carrier supports or restrains it.
- Examine the rubber seal for splits, missing sections, trapped dirt and uneven contact. Close the lid and check that the latch seats properly.
- Measure the actual box, including projections. Offer it up to the carrier before committing to the layout.
Expected result: the box is clean, structurally sound for the proposed support arrangement, and fits without forcing the lid or latch.
Surplus grading describes condition; it does not certify a box for roof use. Even a new tin needs the same fit and mounting checks.
Carrier position and restraint installation
How should the box sit on the rack?
- Position the carrier only where the rack manufacturer permits accessories. Use designated mounting channels or attachment points, not an arbitrary rail that happens to fit a clamp.
- Support the box as the carrier instructions require. Do not balance it across narrow edges or depend on the lid handle to carry travelling loads.
- Open the lid fully and operate the latch. Check clearance from other luggage, roof-tent fittings, the aerial and any opening roof panels.
- Check access from the ground or a suitable platform. Avoid a layout that requires climbing onto an unsupported vehicle panel.
Expected result: the box has the specified support, the lid opens, and every clamp or restraint remains accessible for inspection.
Allow for inspection as well as packing. A hidden buckle or inaccessible fastener turns a simple pre-journey check into a strip-down.
How do you secure the box?
- Fit the carrier using its specified hardware and tightening settings. Do not guess a bolt size, tightening torque or bracket thickness from a general guide.
- Place the box in the carrier and fit the prescribed restraints. Route straps through approved rack points and protect them from sharp edges.
- Set the restraint tension according to its instructions. Stop if the lid, walls or rack rail deform; extra tension does not correct an unsuitable arrangement.
- Secure loose strap tails and check the complete restraint path. Confirm that the installation controls forward, sideways and upward movement, not just downward pressure.
Expected result: the loaded box cannot move independently of its carrier, the latch remains closed, and no restraint rubs against a sharp edge.
Never attach the box solely by its carrying handle or lid latch. Neither feature supplies a roof-mounting rating in the product information.
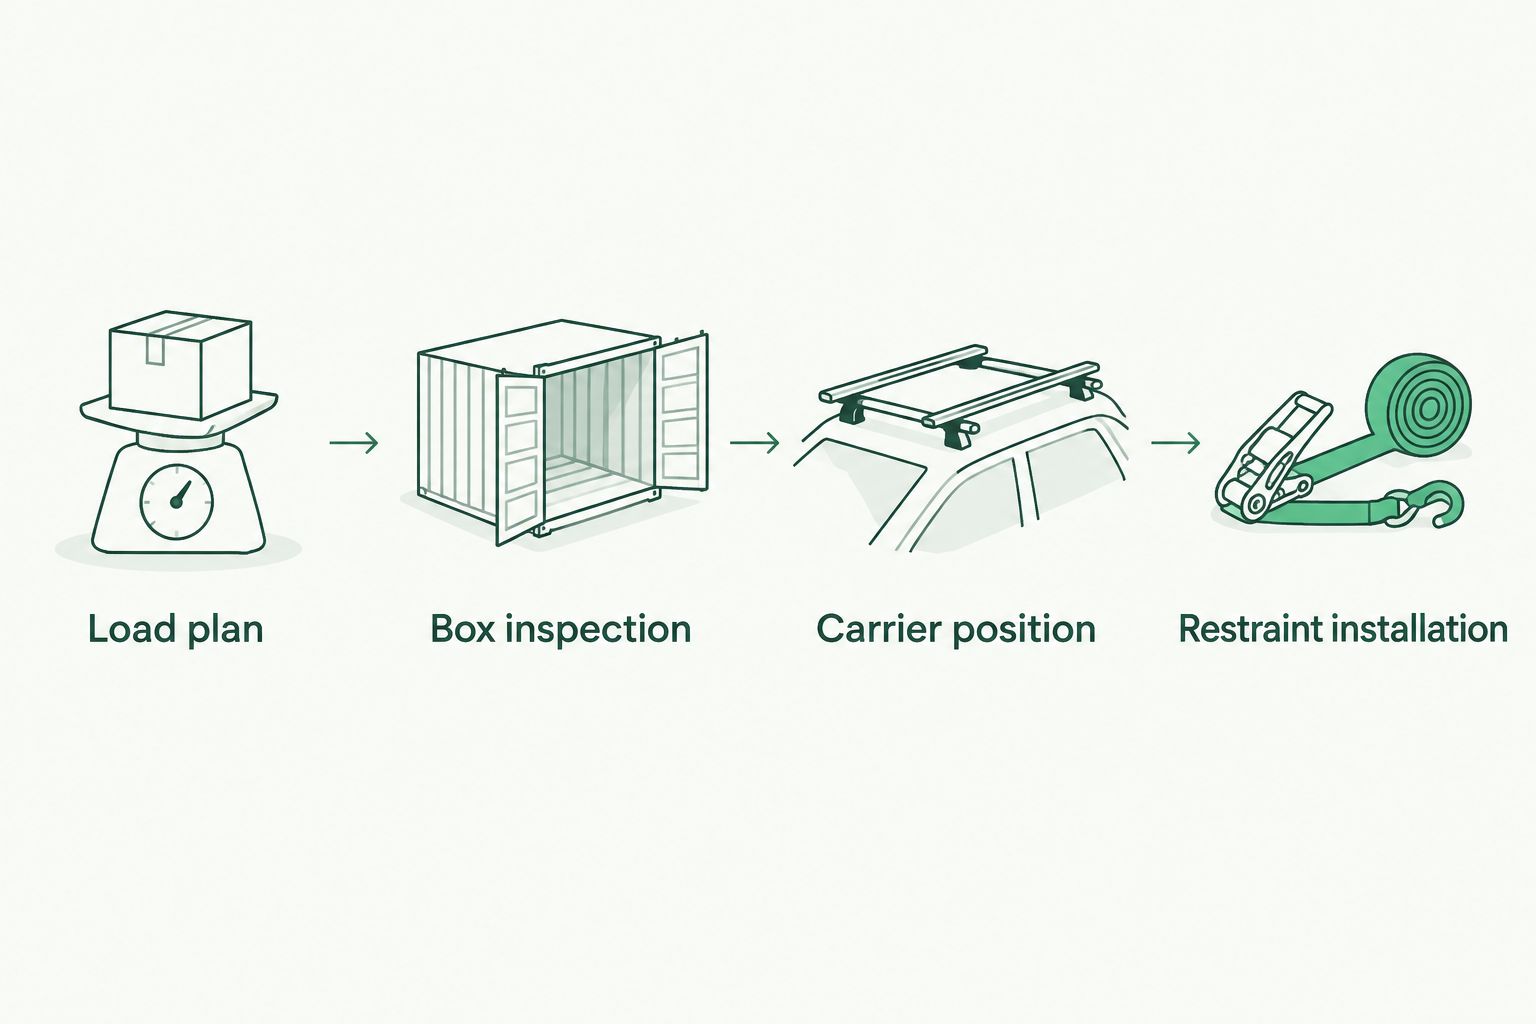
Loaded checks and journey routine
What should you check before driving?
- Pack the intended contents and secure them against movement inside the box. Protect fragile kit separately; an outer metal container does not stop internal impacts.
- With the vehicle parked safely, push and pull the box in each direction. Any independent movement, slipping strap or flexing attachment needs correction before departure.
- Recheck the rack feet, carrier fasteners, strap routing, lid clearance and total load. Measure the vehicle's loaded height in metres and keep the figure available to the driver.
- Make a cautious initial journey under the rack manufacturer's guidance, then stop somewhere safe to inspect the installation. Recheck after rough sections and whenever the load changes.
Expected result: nothing has shifted, no attachment has loosened, and the box remains accessible without disturbing adjacent luggage.
A hand check is useful, but it is not a crash test or a substitute for rated equipment. For your 2026 departure checklist, include the rack feet as well as the box restraints: the whole attachment path matters.
How do you make the box removable for camp?
A removable setup suits trips where you want to carry the tin from the vehicle to your camp. Use a compatible carrier with its specified release system, or an approved strap arrangement that lets you unload the box without dismantling the rack.
- Park safely before releasing anything. Support the loaded box throughout removal.
- Check that its packed mass is manageable from roof height. Unpack heavy contents first if necessary.
- Refit the box in its intended position and repeat the restraint checks before driving.
- Keep required mounting parts together so nothing is omitted during repacking.
Best for camp access: a compatible removable carrier. Its advantage is an intact box you can carry away; its limitation is the need to release and correctly refit the restraints each time.
The Military Mart ammo tin options below have explicit condition descriptions. Neither description establishes roof-rack compatibility, so select the carrier against the actual container measurements.


Troubleshooting
The box slides despite tight straps
Stop using the installation. Check whether the approved arrangement requires locating stops, a different carrier or another restraint route. Do not solve sliding by crushing the box with more tension.
The lid will not open
Move the carrier to a permitted position with sufficient hinge clearance, or choose a compatible restraint arrangement that permits access. Never relocate a strap away from its required route just to free the latch.
Water appears inside the tin
Inspect the seal, rim and latch contact. If the box has been drilled, inspect every penetration as well. Dry the contents and use suitable inner dry storage for vulnerable kit; do not assume the original sealing description still applies after modification.
Fasteners loosen or the rack rattles
Stop and inspect the complete assembly. Check hardware compatibility, prescribed tightening settings and locking provisions. Repeated loosening needs the cause corrected, not an endless cycle of tightening.
Rust appears around contact points
Remove the box and inspect the affected metal. Check for trapped moisture, worn protective finishes and unsuitable material contact. Address corrosion before refitting; paint cannot restore metal lost from a mounting area.
Customise your workflow
Build the storage layout around what you actually use at a wild camp. Separate lighter camp kit from dense repair gear, and keep frequently needed items accessible without unloading the roof.
Use the ammo box size guide to refine your container choice. Then check the selected box against the carrier, load plan and opening clearance.
For a 2026 rebuild, record the box dimensions, packed mass, mounting instructions and loaded vehicle height together. Repeat the checks whenever you change the rack, container or contents.
FAQ
What's the best way to mount ammo boxes to a roof rack?
Use a compatible carrier and its prescribed restraint system. Check the vehicle, rack and carrier limits with the boxes fully packed; the container itself is not a rated mounting accessory.
Can I secure an ammo box using its carrying handle?
Do not use the carrying handle as the sole vehicle attachment. Use a mounting arrangement that restrains the complete container through approved rack points.
Is a roof's stationary load limit the same as its driving limit?
No, a stationary load allowance is not the driving allowance. Use the vehicle handbook and rack instructions for the relevant driving conditions, including any off-road restrictions.
Should I drill holes in an ammo tin for roof mounting?
Prefer an intact box in a compatible external carrier. A through-bolted installation needs structural assessment, suitable load spreading, sealing and corrosion protection; there is no universal bolt pattern.
Will a rubber-sealed ammo tin keep roof-mounted kit dry?
A rubber seal alone does not guarantee that your installed box will keep kit dry. Inspect the seal and closure, and protect vulnerable contents with suitable inner dry storage, especially after any modification.
Does Grade A mean an ammo tin is approved for a roof rack?
No, Grade A describes condition rather than roof-rack approval. Military Mart's Grade A ammo tin still needs a compatible mounting system and inspection before vehicle use.
Can I leave a loaded ammo box on the roof between trips?
Only retain the installation if it remains within the applicable instructions and you inspect it before travelling. Removing unused roof storage makes its condition easier to check and avoids carrying unnecessary roof weight.
One last thing
Check the empty weight before admiring the extra space. A larger surplus box can consume more of your roof allowance before you pack a single item. The useful choice is the container you can support, restrain and access properly—not the biggest tin that fits.


Leave a comment