

Instead of chasing trailer lighting faults every time you hitch up, wire your ex-military trailer around a verified voltage, a mapped connector and a dedicated earth return. This 2026 guide covers the checks, civilian plug connections and loaded tests that turn an unknown surplus loom into a documented towing setup.
- Tow bar electrics ex military trailer: verify voltage and circuit functions before connecting a civilian plug.
- A connector adaptor changes connections, not necessarily voltage; 12V and 24V lighting need compatible supplies.
- Military Mart suits military surplus buyers; electrical compatibility still needs checking on each trailer.
- Use numbered terminals, dedicated earth wiring and loaded lighting tests rather than trusting old cable colours.
Why does this matter?
An ex-military trailer can retain its original lighting, have a civilian conversion, or contain repairs from several owners. The connector shape alone does not establish its voltage or pin functions. A plug that physically fits is not proof of compatibility.
Military Mart supplies genuine military surplus and vehicle spares, but surplus condition and electrical suitability are separate questions. A used loom needs inspection even when the trailer's identity is clear.
For a 2026 road-going conversion, treat the tow vehicle, connector, trailer wiring and lamps as one system. Working lights do not establish that the coupling, brakes, tyres or trailer itself are suitable for road use.
Before you start
- Get the documents and access. Find the trailer wiring diagram, connector identification and tow vehicle's towing-electrics instructions. Park securely, apply the appropriate parking brake, chock the wheels and isolate supplies before opening wiring.
- Prepare the tools and materials. Use a suitable multimeter, insulated probes, a proper crimping tool, automotive cable, compatible terminals, sealed junctions, cable protection and the correct plug. Select cable sizes and circuit protection from the installation instructions and actual loads.
- Check the hidden catch: voltage and switching. Establish whether the lamps require 12V or 24V and whether the tow vehicle needs a dedicated towing module. A passive adaptor does not convert voltage, and military blackout circuits are not substitutes for civilian road-lighting functions.
Stop if the connector cannot be identified or the loom cannot be traced. An automotive electrician should resolve unknown circuits before you apply power. Never use the tow vehicle as a trial-and-error test supply.
Supply and circuit identification
- Identify supply. Read lamp and bulb markings, inspect any conversion labels and consult the vehicle documents. Measure the towing socket using its documented earth terminal and the appropriate multimeter setting; keep probes from bridging adjacent contacts.
- Map circuits. Photograph the existing connections before disconnecting anything. With every supply isolated, trace each conductor from the connector to its lamp or junction using continuity testing. Disconnect components where necessary to prevent misleading readings through other circuits.
- Record the result. Make a wiring sheet showing connector terminal, conductor identifier, destination, lamp voltage and earth return. Date the sheet 2026 and record modifications rather than assuming the original diagram still matches.
- Inspect condition. Check for brittle insulation, green corrosion, crushed cable, loose terminals, damaged glands and water inside lamp housings. Replace damaged sections and terminals before building the conversion around them.
Expected result: you can identify each required road-lighting circuit and its return path without guessing from cable colour.
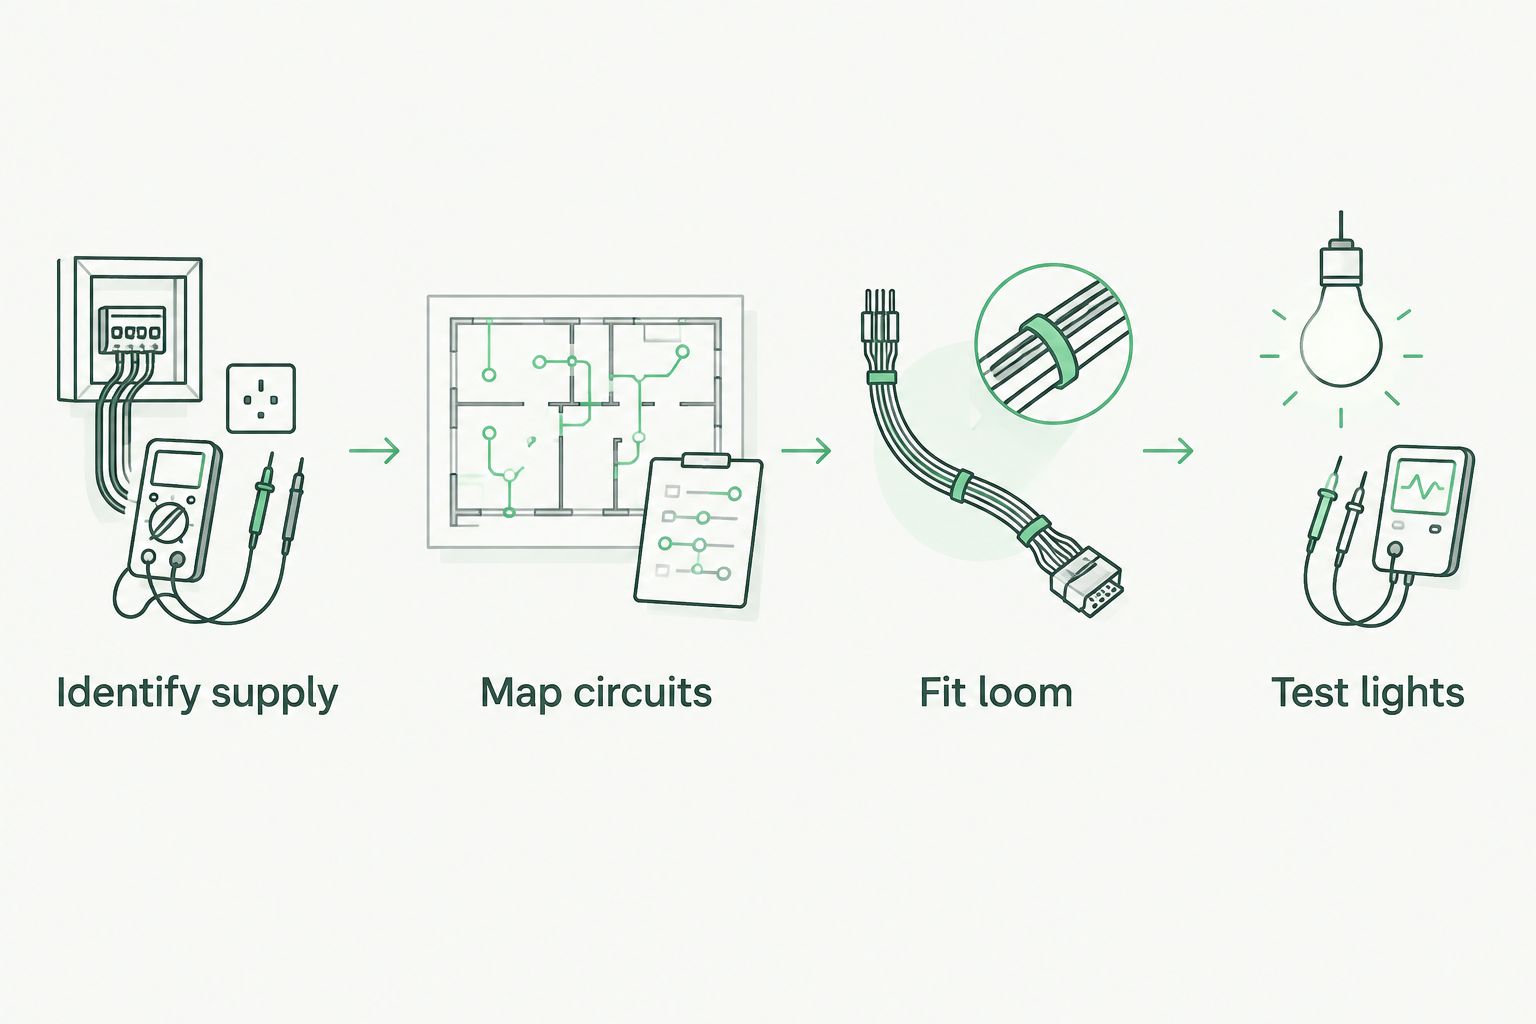
The practical sequence is simple: Identify supply, Map circuits, Fit loom, then Test lights. Do not skip identification because the plug looks familiar.
Connector and conversion choice
Choose the connection around the trailer's required functions and the towing vehicle's approved installation. Do not choose it merely to avoid replacing an old plug.
| Connection approach | Best for | Advantage | Limitation |
|---|---|---|---|
| Civilian 7-pin lighting connection | Trailers needing the basic functions carried by ISO 1724 | Familiar numbered lighting terminals | Does not provide a reversing-light circuit |
| Civilian 13-pin connection | Trailers needing reversing lights or additional documented circuits | Provides more circuit positions under ISO 11446 | Auxiliary feeds need their own correctly designed wiring and protection |
| Retained military connector with a documented interface | Restorations preserving original fittings | Retains the original trailer connection | Requires verified pin mapping and compatible voltage; physical adaptation is not enough |
Use the documented civilian connection that supports every required function. Retaining military fittings is reasonable for a restoration, but it adds an interface that needs its own wiring record.
- Confirm which road-lighting functions the trailer needs, including number-plate illumination and any applicable fog, reversing or marker lamps. Check current requirements for the trailer's age, dimensions and use with a competent trailer specialist.
- Check the tow vehicle instructions for the specified socket, towing module, wiring kit and any coding. Follow that installation rather than tapping into rear-light wires without approval.
- Match the trailer lighting to the towing supply. For a conversion to 12V, check every affected bulb, LED assembly and electronic component; changing the plug does not change their voltage rating.
- If retaining different vehicle and trailer voltages, have a suitable automotive interface specified for the separate lighting signals and combined loads. A generic voltage reducer is not automatically a trailer-lighting converter.
Expected result: you have a complete connection plan covering voltage, signal functions, protection and the tow vehicle's electrical requirements.
Plug and loom installation
The table below covers the standard civilian 7-pin ISO 1724 lighting connection, not an unidentified military connector. Cable colours are the civilian convention; old surplus wires must be traced independently.
| Terminal number | Standard cable colour | Lighting function |
|---|---|---|
| 1 | Yellow | Left indicator |
| 2 | Blue | Rear fog lamp |
| 3 | White | Earth return |
| 4 | Green | Right indicator |
| 5 | Brown | Right-hand tail/position-light circuit |
| 6 | Red | Stop lamps |
| 7 | Black | Left-hand tail/position-light circuit |
Follow the terminal numbers moulded into the actual connector. A diagram viewed from the mating face is reversed relative to a view from the cable-entry side. Confirm the manufacturer's stated viewing direction before making connections.
- Fit loom. Isolate the towing and trailer supplies. Route automotive cable away from exhaust heat, sharp edges, moving suspension and places where it can be trapped. Fit grommets wherever cable passes through metal.
- Connect each traced lighting conductor to its documented terminal. Use the connector manufacturer's specified preparation, terminal method and tightening instructions. Keep loose strands out of neighbouring terminals.
- Run dedicated earth conductors to the lamps and the correct connector earth terminal. Do not rely on the tow ball, coupling or rusty chassis joints to complete the lighting circuit.
- Connect number-plate illumination to the appropriate position-light circuit according to the trailer's wiring plan. Preserve separate left and right position-light feeds where specified; do not bridge socket terminals to disguise a fault.
- Secure the cable sheath in the plug's strain relief. Leave enough drawbar cable for steering movement without allowing it to drag or catch. Seal junctions using suitable components, then secure the loom against movement and abrasion.
Expected result: every lamp has a documented supply and return, with no exposed copper, unsupported joints or cable carrying tension at a terminal.
Before closing the junction box, photograph the completed connections. Mark replacement conductors at both ends. A readable wiring sheet is more useful than remembering that a faded wire looked blue.
Loaded lighting checks
A continuity beep proves a path exists; it does not prove the path carries the lamp load properly. Corroded terminals can pass a small test current yet produce a poor connection when several lights operate together.
- Check the completed loom for unintended connections between circuits and earth with power isolated. Allow for legitimate paths through connected bulbs or electronics; disconnect them where needed to interpret the test correctly.
- Verify the towing socket with a suitable tester before attaching the trailer. Confirm each commanded function at the documented terminal. A basic socket tester does not prove the system works under the trailer's actual load.
- Test lights. Reconnect using the installation instructions and operate the indicators, stop lamps, position lights, number-plate light and fog lamp individually. Test reversing lights where fitted and required.
- Repeat with position lights on while operating the brake lamps and indicators. Watch for dimming, incorrect lamps flashing or another circuit glowing faintly. Check the tow vehicle's trailer detection and warning functions as its handbook specifies.
- With the vehicle secured against movement, check cable clearance through the intended coupling movement. Disconnect and isolate before correcting routing or connections. Repeat the full lighting test after repairs.
Expected result: the correct lamps operate individually and together, without cross-feeding, intermittent connections or vehicle warnings.
Do not tow on the road until the lighting and wider trailer checks are complete. A lamp test cannot assess braking performance or coupling security.
What if you want to retain the military lamps?
For a 2026 restoration, preserving original lamp housings and preserving original electrical operation are different decisions. Inspect the housing, lens, bulb holder, seal and circuit arrangement before deciding what can remain.
A serviceable housing does not establish road suitability. Check lamp functions, lens colours, markings, mounting positions and visibility with a trailer specialist. Military blackout lighting needs separate consideration and must not replace required road lights.
For retained housings, follow this adjacent workflow:
- Identify the permitted replacement bulb or lamp assembly and its operating voltage.
- Check that its fitting, heat output and electrical load suit the housing and wiring.
- Keep road-lighting circuits clearly identified and isolate redundant wiring safely.
- Repeat the loaded tests after changing lamps, even if the plug wiring is untouched.
Best for originality-led restorations: retain serviceable fittings only where they support a verified road-lighting installation. The benefit is preserving original kit; the drawback is extra inspection and compatibility work.
Troubleshooting
Why do several lamps flash together?
Check the earth return first. A poor shared earth lets current find unintended paths through other lamps. Test for voltage drop along the return while the affected lights operate, then repair corroded terminals, damaged conductors or poor connections.
Why are the lights dim or not working?
Check the supply voltage against the lamp rating, then test voltage at the lamp under load. A 24V bulb supplied from 12V will not perform as intended; excessive supply voltage can damage lamps. Also inspect feeds, earths, holders and fuses.
Why does the wrong side indicate?
Compare the physical terminal numbers with the wiring sheet. Check whether the diagram was read from the wrong connector face. Isolate the supply before moving conductors, then retest both indicators and the remaining functions.
Why does the tow vehicle report a bulb fault?
Check lamp operation, towing-module compatibility and any required configuration. LED conversions can change the electrical load detected by the vehicle. Use the vehicle and lamp manufacturers' supported solution rather than adding resistors without checking heat and mounting requirements.
Why does a fuse keep blowing?
Stop replacing it and isolate the fault. Inspect the plug, drawbar loom and lamp entries for crossed conductors, trapped insulation and water damage. Use the specified fuse rating; a larger fuse is not a repair.
Customise your workflow
Keep the finished lighting diagram with the trailer documents. Include connector photographs, lamp ratings, replacement component details and the completed test record. Repeat the full checks after rewiring, lamp changes or connector repairs.
Military Mart's military surplus range suits buyers restoring and using genuine kit; used electrical parts still need individual inspection. Condition descriptions help you assess surplus, but they do not replace electrical tests or establish compatibility.
If the towing vehicle also needs accessory wiring, read the guide to wiring a dash cam into an ex-military vehicle. Keep accessory supplies separate from trailer lighting unless the installation documentation explicitly provides otherwise.
FAQ
How do I wire tow bar electrics for an ex-military trailer?
Verify the towing supply and lamp voltage, trace each trailer circuit, then connect the required functions to a documented civilian or military interface. Use dedicated earth returns and test the actual lights individually and together before towing.
Can I plug a 24V military trailer into a 12V car?
Not without checking and resolving the voltage mismatch. A passive plug adaptor does not convert voltage; the trailer needs compatible lighting or a correctly specified automotive interface.
Is a 7-pin or 13-pin plug better for an ex-military trailer?
Use the connector that supports the trailer's required functions and the tow vehicle's approved installation. Standard 7-pin ISO 1724 wiring lacks a reversing-light circuit, while 13-pin ISO 11446 provides a reversing-light connection and additional circuit positions.
Can I trust the wire colours in an old military trailer?
No. Trace and label the conductors because military wiring conventions and previous repairs need not match civilian trailer cable colours.
Can the trailer earth through the tow ball?
Do not rely on the tow ball for the lighting return. Connect dedicated earth wiring through the correct plug terminal to the lamps.
Do working lights make an ex-military trailer road legal?
No. Road suitability also involves the trailer's applicable lighting requirements, coupling, brakes, tyres and other construction and use requirements.
Does Military Mart surplus grading prove electrical parts are ready to fit?
No. Surplus condition and electrical compatibility are separate checks; inspect and test used wiring and components before installation.
One last thing
Test combinations, not just individual lamps. A weak earth can hide until the brake lamps, indicators and position lights operate together. Make that combined check part of every pre-tow inspection, not just your 2026 conversion record.


Leave a comment